

Beginning of 2015… I had just finished my music Bachelors in Brazil with lots of ideas in my head, but can’t say the same about money in my pocket. I went from a musician who had never soldered a button to someone who owns a company focused on building midi controllers and is currently doing a Masters degree in Music Technology at Georgia State University, researching and building some musical paraphernalia.Today, I tell you how learning to build my own MIDI controllers made me save a lot of money, besides changing my life.
Where it all began…
Pursuing a music degree is wonderful: you learn, you meet fantastic people, it opens your mind and takes you to places you never imagined. But… graduating in music, mainly in Brazil, is not that great! I did my bachelors in music composition, at Federal University of Pelotas (Brazil) and did an exchange program at California State University – Long Beach (USA). During my undergrad, I got deeper into electronic music and multimedia art, going increasingly to the nerd side of the force. During that time, I flirted with programming to be able to develop my own “artistic / musical” softwares. It was all very cool, lots o fun, like how working with art should (or could) be, but one day it arrived, the graduation.
Being a nerd musician in Brazil is not easy: earning money, working with musical composition, even more in the southern of the country, is not easy! Making money with music is difficult anywhere, actually! Buying all those mega expensive controllers, is, most of the time, unfeasible. Anyway, you know exactly what I’m talking about. I am a guy who likes to learn; from time to time I decide to learn something new… It was when the thirst of learning got mixed with an empty pocket that something clicked: “I’ll learn how to build my own controllers, so I can save some money and even make some to sell.” And that was it.
That forgotten Arduino in the drawer…
In these virtual walkings in search for the perfect controller, I discovered Livid, a very nice company that made controllers in a more DIY style. Nowadays they no longer have this “trait”, they manufacture their controllers on a large scale, but, at that time, they were still conquering their space with more “hand-made” models.
When I thought about building my controller, I remembered that Livid had a Builder Kit dedicated to makers, called MIDI Brain. MIDI Brain is a board where you connect components like buttons and potentiometers and, in a graphical interface, you configure what MIDI value each component will send. An easy and quick way to build a MIDI controller. Perfect! However… Not. Brazil is the country of soccer, carnival and taxes (not to mention the dollar quotation compared to our currency). The price of the board, which was approximately US$50 + shipping, was totally out of the question, since the idea was to save money. I love my country, don’t get me wrong, but being a musician and, now, an entrepreneur is… ugh
It was when I remembered that I had a forgotten an Arduino in some drawer, a mysterious board that is said to be able to do everything, from robots to home automation, from a useless box to a… MIDI controller! Voilà … I started doing my research and I saw that the Arduino was behind 99% of the things involving art and Do It Yourself that involved electronics. And the price? Approximately US$ 3.00 on Ali Express! Here we go!
My first controllers…
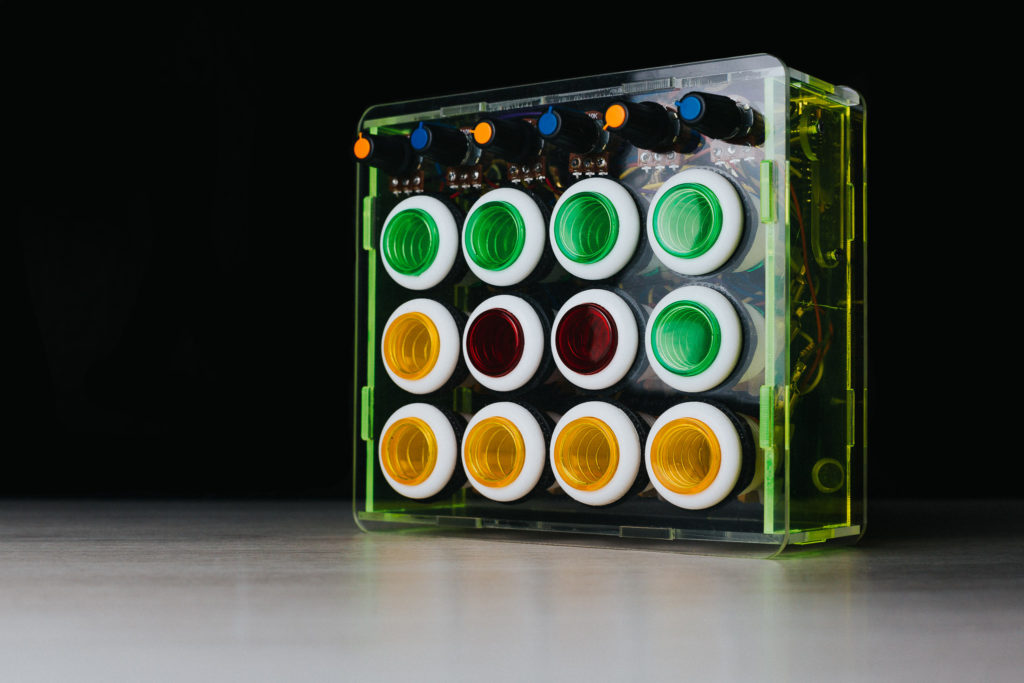
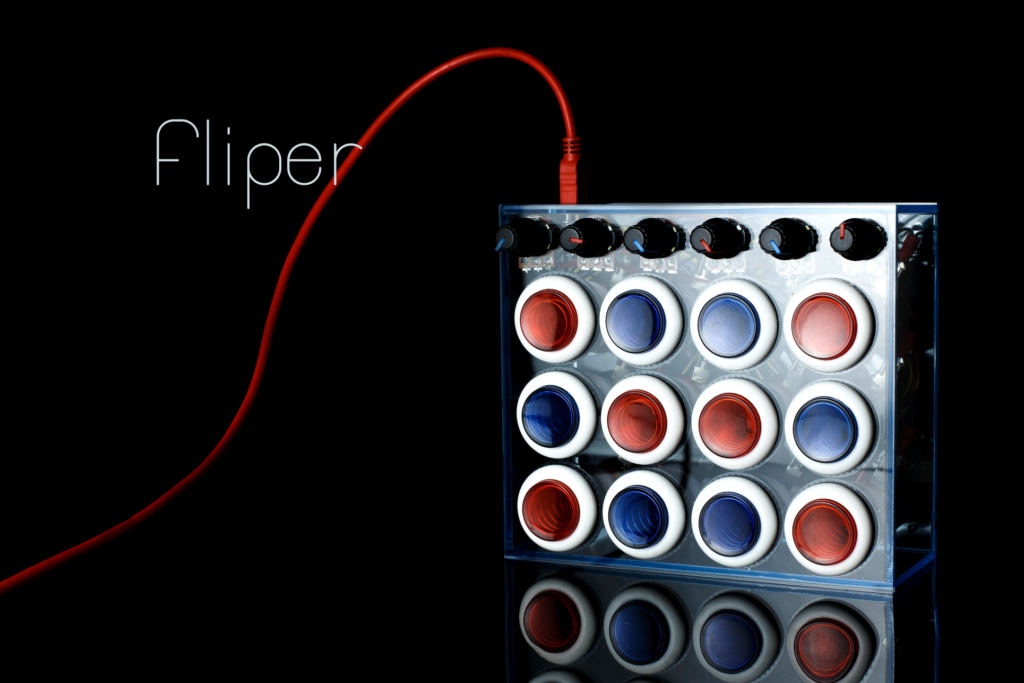
At the time, I was starting to rehearse for the first show of my project called Bit Comma, a project that mixes electronic music, drums and interactive video. As I’ve been an instrumentalist for my whole life, playing guitar, keyboard, flute, violin and whatever else appeared in front of me, I felt a little embarrassed to be the guy who just played the buttons while my friend Emilia Rodrigues way kicking ass on the drums. The songs were ready and I needed an instrument that could be used to trigger audio/video samples and other effects, while it being visually interesting.
My inspiration was to do something like a MIDI Fighter, from DJ Tech Tools. In Brazil, adding shipping, taxes and converting from dollars, this controller would be over R$1,000.00 (a lot). It was months of research, sweeping through all the possible tutorials on how to make a MIDI controller, what components to use, how to make an enclosure… Until one day I got it, it worked! It was a tremendous happiness! Once you feel the joy of using something you’ve built yourself, you don’t want to stop anymore. At the time, I should have spent, approximately:
1 Arduino Uno = US$5
12 Arcade Buttons = US$6
1 enclosure = US$15
6 potentiometers = US$3
6 knobs = US$3
Wires = US$3
TOTAL = US$35,00 !!
Here is a video with my first child:
They were getting better… and Bit Controllers.
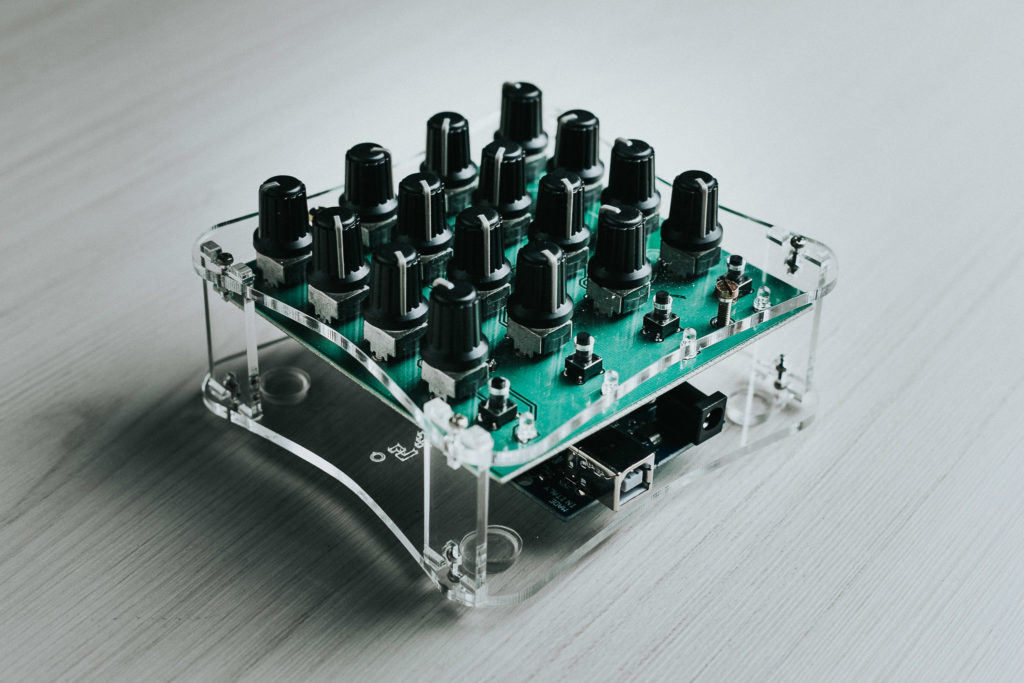
As the time went by, I started to make controllers for other people. Besides saving money making my own, I was making controllers for other people who wanted to have custom controllers too, making some extra money! I even made one custom-made controller to the DJ Felippe Senne, one of the greatest references in the electronic music scene in Brazil!
Because I was was doing custom made controllers, challenges started to pop up. So, in every challenge I would get out of my comfort zone and dive into the internet to learn how to use every new component. I even did a MIDI Theremin, the Theremidi:
For my controllers I created the name Bit Controllers. And since then, it has been a path of learning, fun and that little bit of suffering, which can not be skipped by anyone who decides to learn something from scratch all alone.
What you need to make yours…
Spoiler: Watch the free course “The DIY MIDI Controller workshop“.
In this “maker world” there is no right answer for anything, there are many ways to do the same thing. After building a lot of controllers, making a lot of mistakes while learning, I created a framework where I would build my controllers much faster and cheaper.
To build a MIDI controller you will need:
An Arduino:
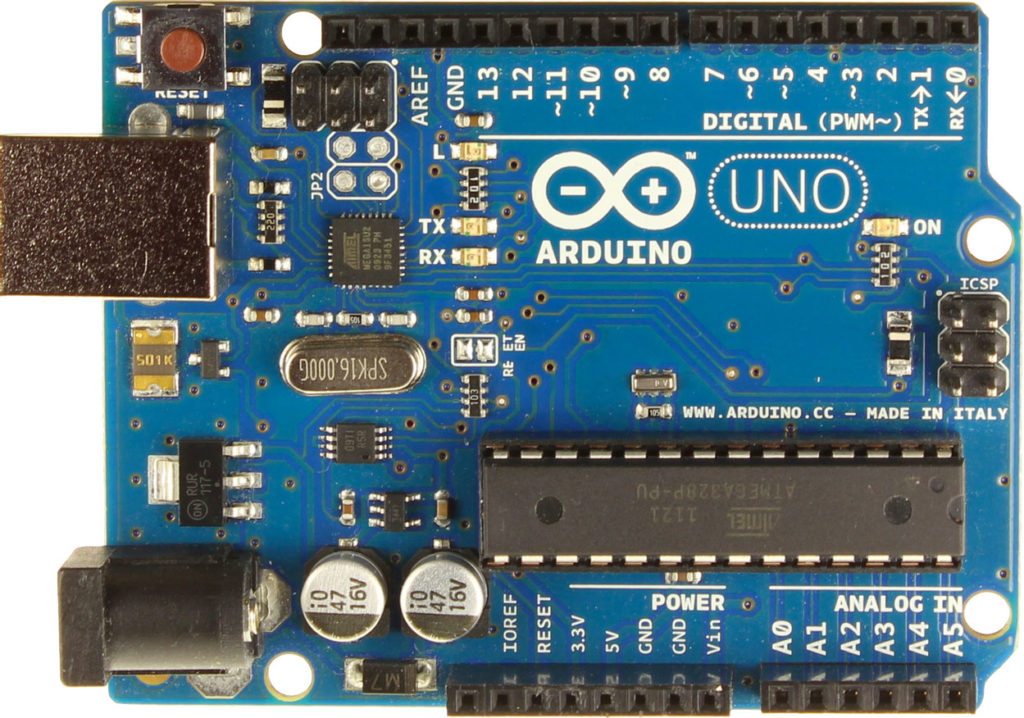
Arduino UnoR3 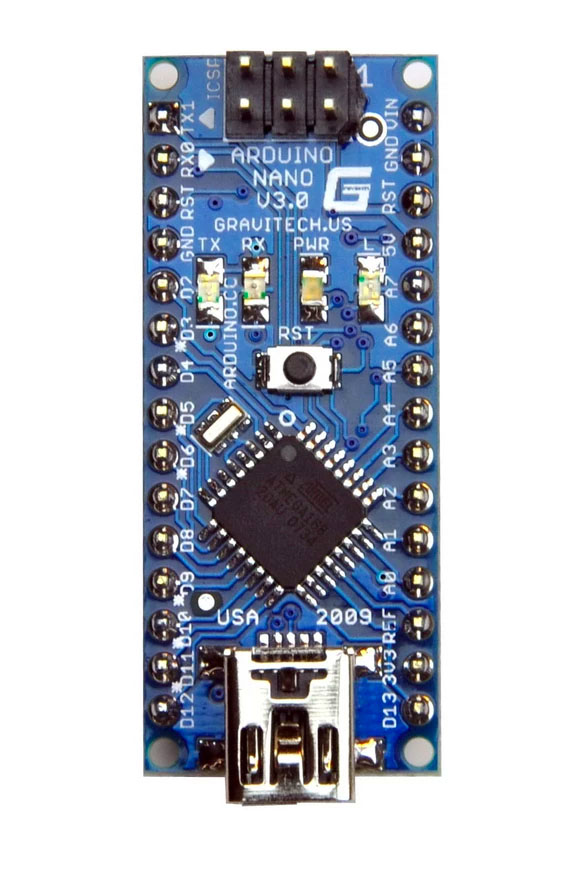
ARD-NANO4 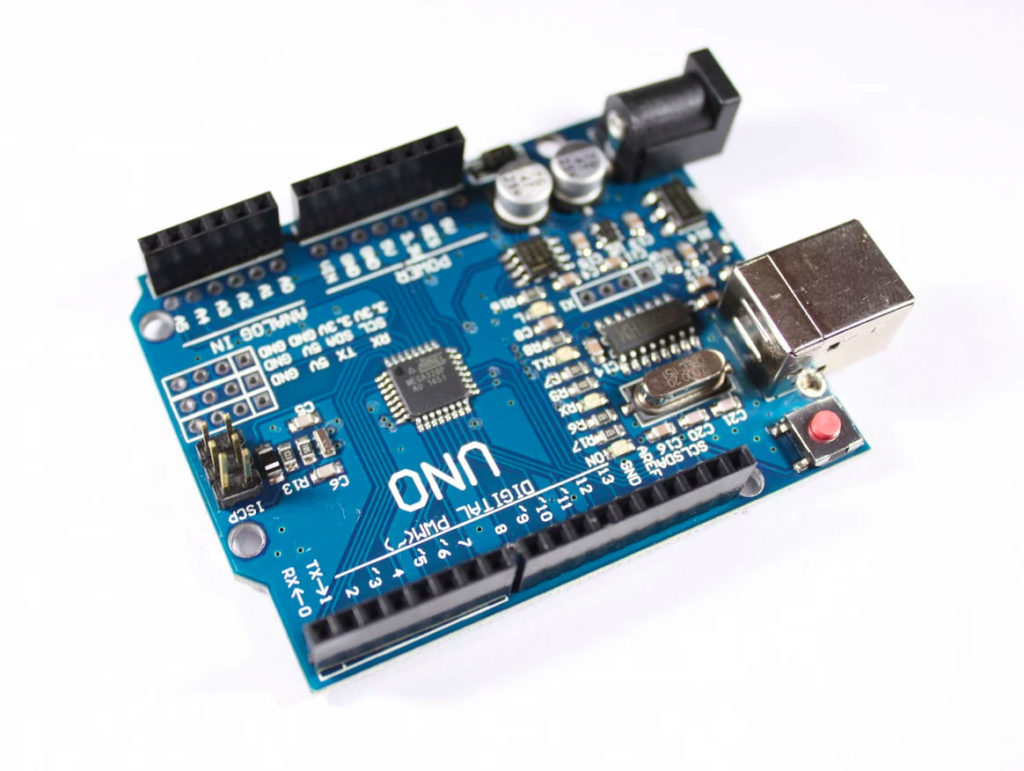
ArduinoCheapUno2 
lilypadMainBoard 
Arduino-Pro-Mini-in-Pakistan1
Arduinos are boards that come in several models, created by the company Arduino. Through a little bit of programming, you can get data from the physical world, using buttons, potentiometers, sensors, etc., and use them to control LEDs, motors, or send/receive MIDI via USB!
Components:
They will be your input, which the Arduino will read and then convert its data to MIDI. They can be a variety of different buttons, potentiometers and sensors, from arcade buttons to distance sensors and accelerometers.
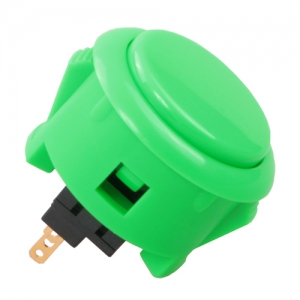
Botão Arcade 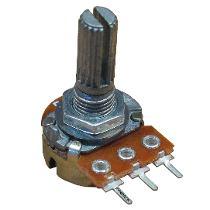
Potenciômetro 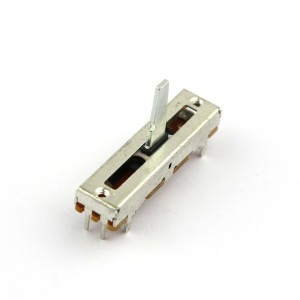
Slide Potentiometer 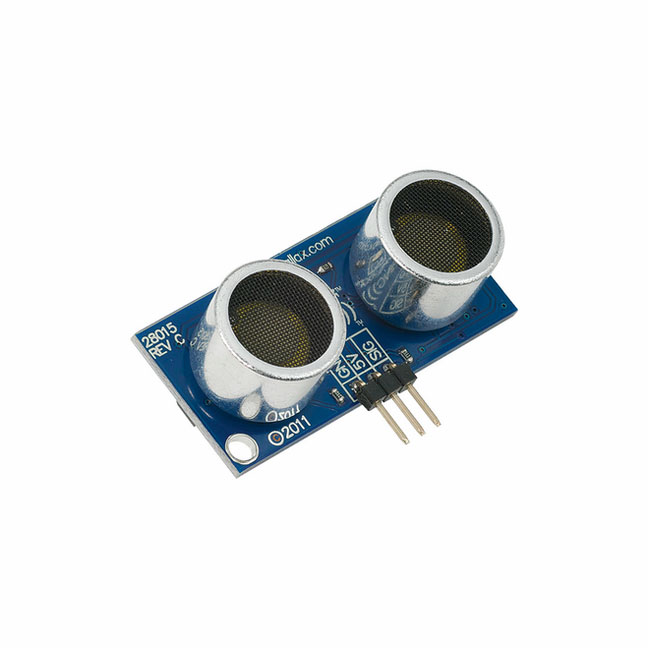
Sensor de distância 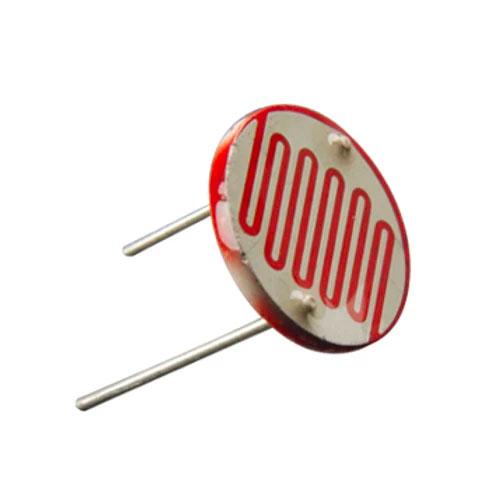
Sensor de luminosidade
Learning a little bit of electronics and programming:

Okay, this part may seem a bit disturbing, but don’t worry, it will be a lot easier for you than it was for me!
The DIY MIDI Controller Workshop!
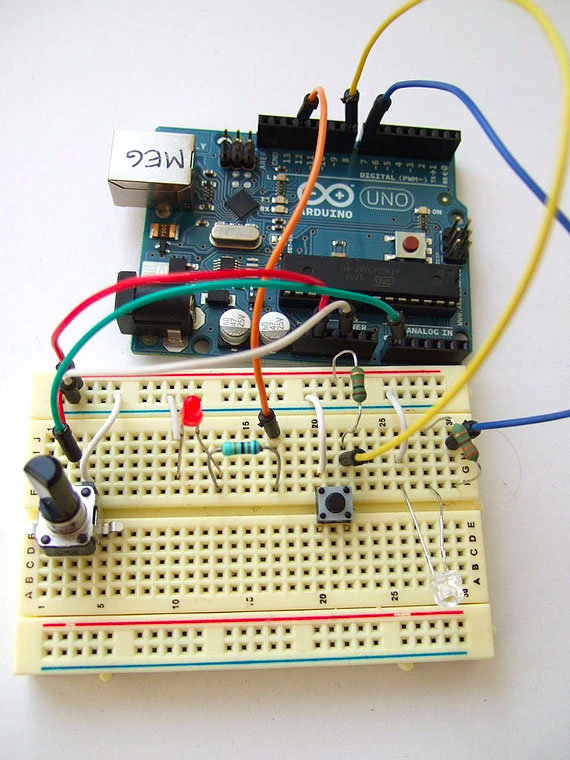
The good news is that thinking about how much time I had to spend searching all over the internet, I decided to put this knowledge together and to create a course where I could teach you in baby steps. In fact, this is a very extensive content that can last for months, but I have prepared a mini course of three classes, where you will be introduced to this world and, in the end, you will come out with your own controller in the breadboard, simple but really fun! Doesn’t know what a breadboard is, wants to make your own controller, can not wait any longer? Sign up below and receive the DIY MIDI Controller Workshop in your email box! How much? Free, de graça, $0! 🙂
To watch the classes just click on the link below:
>> I want to watch the DIY MIDI Controller Workshop! <<
If you happen to identify yourself with something here in this post, be sure to comment below! I don’t usually write such personal posts like this, so it would be nice to know a little more about you. If you have doubts, write there too!
Grande abraço!